# Detector
# Introduction
Object detection enables your application to identify object instances within an image, and respond based on their presence, position, and classification. It can identify multiple objects within an image and provide the location, size and label for each one. Given an image as input, an object detector will output instance predictions that may look something like this:
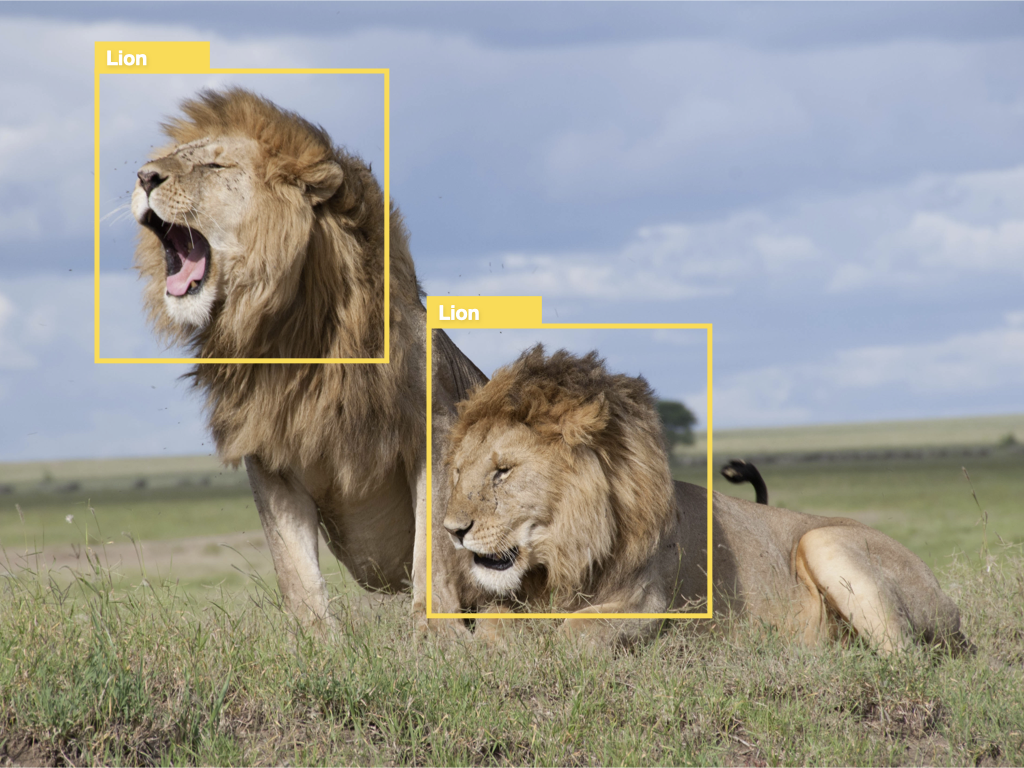
This particular model was trained to detect instances of animal faces. The response here is illustrated by bounding boxes around the object instances detected.
# Using existing object detection model for prediction
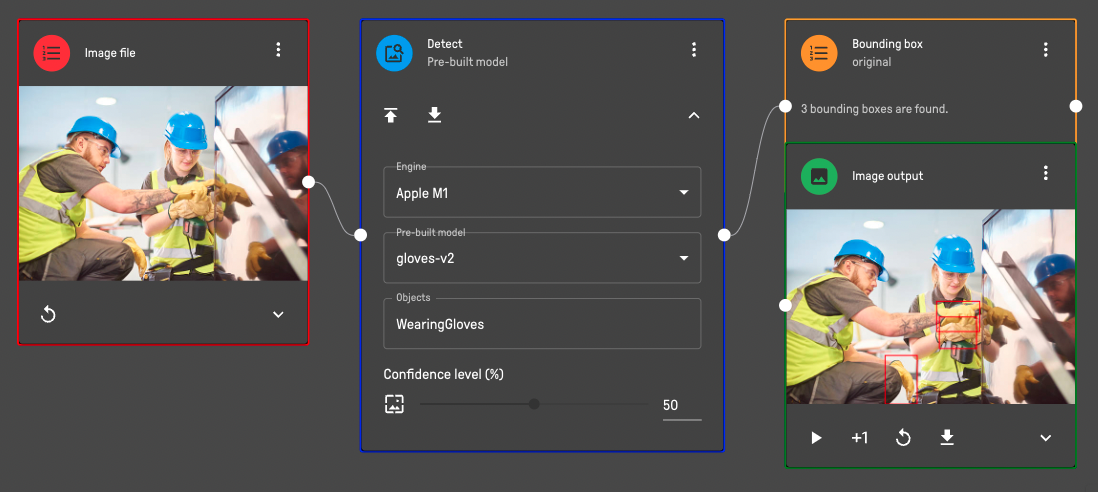
EdgeAI Studio provides 50+ pre-built models that you can use right away for prediction or integrating with other applications. Here is a pipeline example using a pre-built model for detecting whether a person is wearing safety gloves or not.
 You may find a demo pipeline here (opens new window).
# Training your own object detector
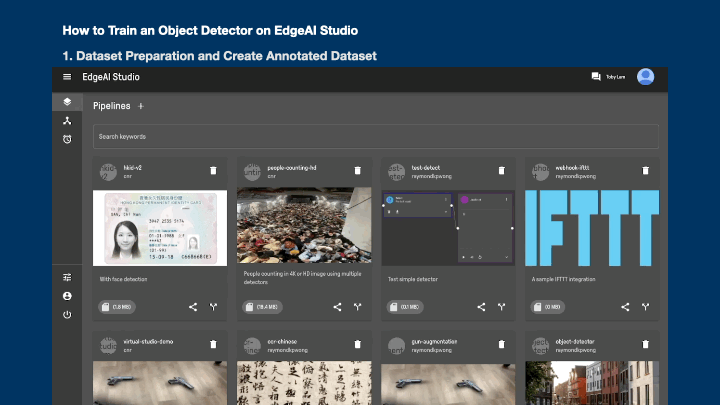
To train an object detector, you need to annotate each image with labeled regions that you would like the model to recognize. The bounding box for your annotated objects starting at the center of each object of interest and having a size, height, and width, this is measured in pixels from the top left-hand corner of your image to the center of each object of interest. Once you've finished your annotations, the dataset is ready for training. All of these could be done directly on EdgeAI Studio (opens new window).
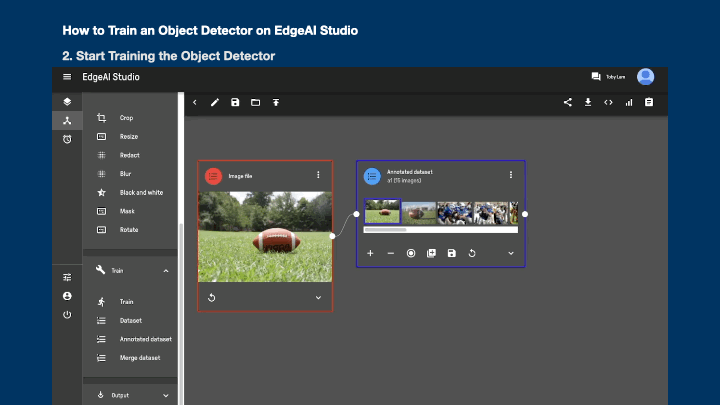
To train an object detector, you can set up a pipeline as below.
The steps are as follows:
- Expand the Input category from the menu
- Drag an input block to the canvas as the source of your input files
- Drag and drop the file to the input block (e.g. Drag and drop a video file to a "Video File" input block or an image file to the "Image File" input block)
- Expand the Train category from the menu
- Drag the "Annotated dataset" block to the canvas
- Click +1 or the record button in "Annotated Dataset" block
- Input the "Label name" in "Annotated Dataset" block
- Click the image in the "Annotated Dataset" block
- Draw the bounding box(es) for each of the image (click the > button to navigate to the next image)
- Close the image preview window
- Repeat Step 1-10 for another class of the dataset
- Expand the Train category from the menu
- Drag the "Train" block to the canvas
- Connect the "Annotated dataset" blocks to "Train" block
- Select the Engine and Type from the dropdown menu
- Select "Object Detection" as the model type
- Input your model name in the Name textbox
- Update the number of training epochs if Apple M1/M1 Pro/M1 Max engine is used (default value is 50)
- Click the play button to start training
TIP
Currently only Microsoft Azure Custom Vision supports object detector training in Studio. For Apple M1/M1 Pro/M1 Max, you need to download the annotated dataset to train in CreateML separately. For details on how to configure your engine, please refer to the description here (opens new window).
← Classifier OCR →