# Classifier
# Introduction
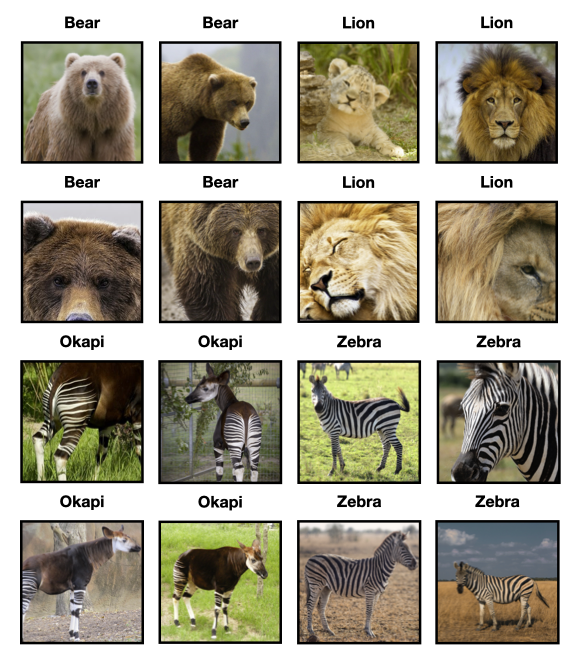
The task of identifying what an image represents is called image classification. An image classifier is a machine learning model trained to recognize various classes of images. When you give it an image, it responds with a category label for that image. For example, you may train a model to recognize images representing different types of animals like bears, lions, zebras and okapis.
# Using existing image classification model for prediction
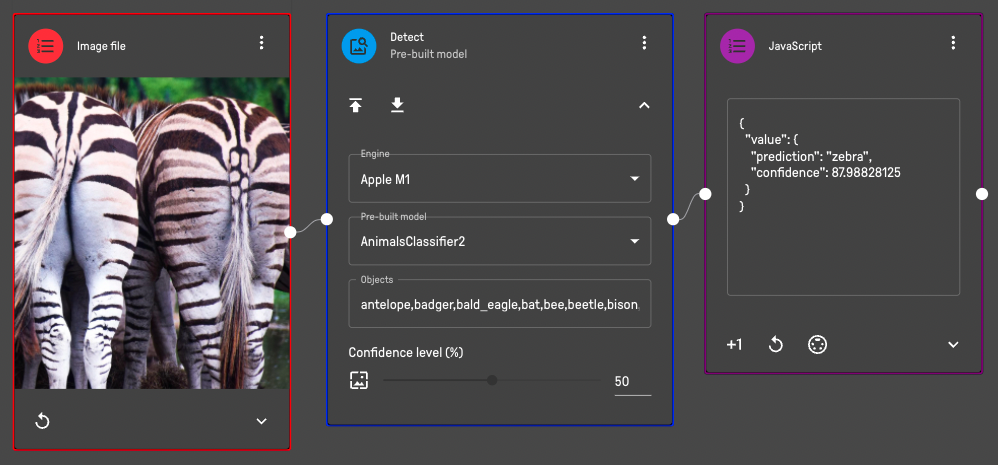
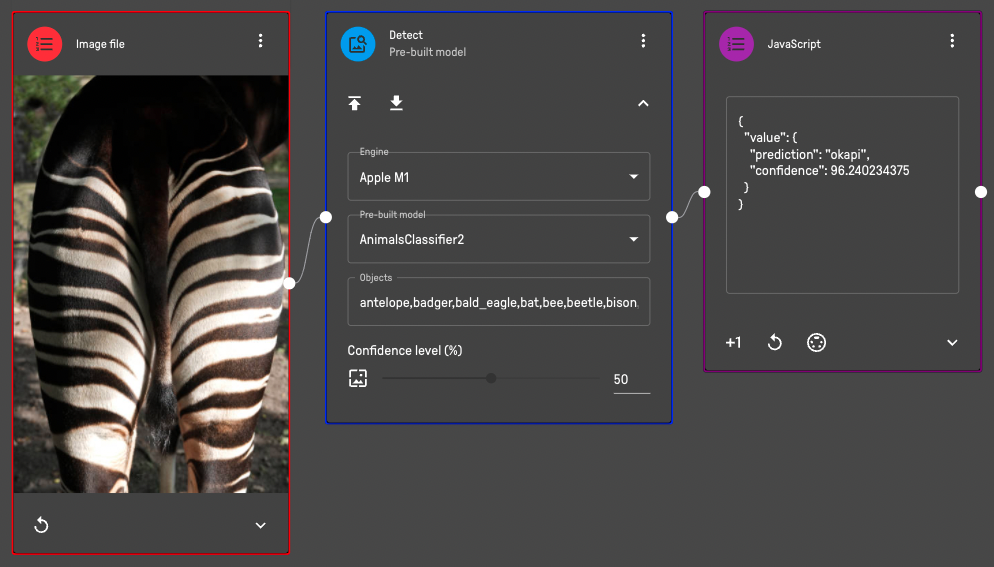
EdgeAI Studio provides 50+ pre-built models that you can use right away for prediction or integrating with other applications. Here is a pipeline example using a pre-built model for animals classification.
TIP
For details of the pre-built models and ready-to-use pipelines, please refer to the pre-built model section here (opens new window).
# Training your own image classifier
You can train an image classifier directly on EdgeAI Studio (opens new window) by showing samples of images you have labeled for each class. After the image classifier finishes training, you can perform a prediction and assess its accuracy by using the Detect block.
Datasets should be prepared and connected to the Train block like this.
There are some differences in capabilities in each engine in the Train block.
| Engine | Capabilities/Limitations |
|---|---|
| Azure Custom Vision | Able to train 2 or more classes. Each class should contain 5 or more images. An Azure subscription is required and the training key should be configured in Settings |
| Apple M1/M1 Pro/M1 Max | Able to train up to 2 classes with fixed name a1 and a2. Each class should contain 5 or more images. The model name must be called as test |
To run a training, the details of training an image classifier on EdgeAI Studio is as follows:
- Expand the Input category from the menu
- Drag an input block to the canvas as the source of your input files
- Drag and drop the file to the input block (e.g. Drag and drop a video file to a "Video File" input block or an image file to the "Image File" input block)
- Expand the Train category from the menu
- Drag the "Dataset" block to the canvas
- Click +1 or the record button in "Dataset" block
- Input the label name in "Dataset" block
- Repeat Step 1-7 for another class of the dataset
- Expand the Train category from the menu
- Drag the "Train" block to the canvas
- Connect the "Dataset" blocks to "Train" block
- Select the Engine and Type from the dropdown menu
- Select "Classification" as the model type
- Input your model name in the Name textbox
- Update the number of training epochs if Apple M1/M1 Pro/M1 Max engine is used (default value is 50)
- Click the play button to start training
TIP
Only 10 or 50 epochs are supported in the Apple M1/M1 Pro/M1 Max engine. For details on how to configure your engine, please refer to the description here (opens new window).
← Introduction Detector →