# Introduction
Image augmentation is an important process in machine learning to make your model more robust. And, augmentation can also be used to improve accuracy by increasing the volume of training images by altering some details.
However, please remember that we should not only rely on augmentation to improve model accuracy. Neural network training requires good quality and more diversified training dataset.
In this section, we will describe a set of image augmentation processes which are ready to use without programming.
# Crop
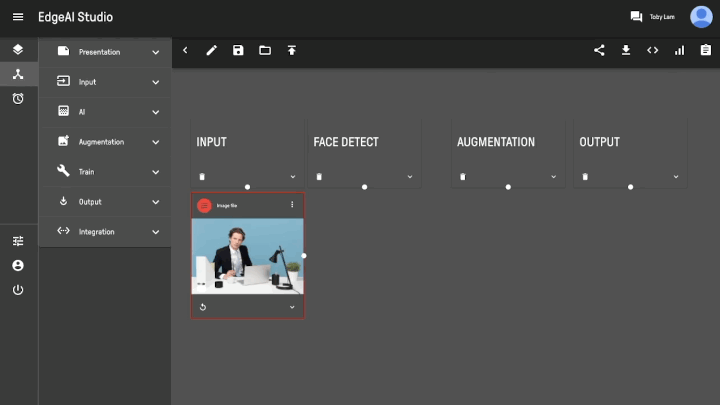
- Connect the input source (e.g. Image File block) to the Crop augmentation block
- Click the edit button
- Draw the area for image crop
- Connect the augmentation block to a targeted block for further processing
# Resize
- Connect the input source (e.g. Image File block) to the Resize augmentation block
- Click the show more button to expand the block
- Select the output Resolution and Orientation from the dropdown box
- Connect the augmentation block to a targeted block for further processing
# Blur
TIP
You can set the level of blurriness from a scale of 0 to 100 in "Blur" block.
- Connect the input source (e.g. Image File block) to the Blur augmentation block
- Click the show more button to expand the block
- Select the output Resolution and Oriantation from the dropdown box
- Connect the augmentation block to a targeted block for further processing
# Black and white
- Connect the input source (e.g. Image File block) to the Black and white augmentation block
- Click the show more button to expand the block
- Select the output Resolution and Oriantation from the dropdown box
- Check the Inverse checkbox for reversing the color of the input image (if necessary)
- Connect the augmentation block to a targeted block for further processing

# Mask
TIP
Masking is a method of using bounding box to cut off an area of the object below it. It is very similar to image cropping, but masking lets us reveal only the specified area of an image that we want to show (usually the object that we want to detect). On the other hand, image cropping is simply removing or adjusting the outside edges of an image so that any unnecessary object or irrelevant detail from an image could be removed (usually for improving the dataset quality or enhancing the data diversity).
- Connect an appropriate input source (e.g. Detect or JavaScript block with bounding box data) to the Mask augmentation block
- Click the show more button to expand the block
- Select the output Resolution and Oriantation from the dropdown box
- Connect the augmentation block to a targeted block for further processing
# Rotate
TIP
You can rotate an image by 90, 180 or 270 degrees clockwise by changing it from the Angle dropdown box.
- Connect the input source (e.g. Image File block) to the Rotate augmentation block
- Click the show more button to expand the block
- Select the rotation angle from the Angle dropdown box
- Connect the augmentation block to a targeted block for further processing
# Flip
TIP
You can flip an image horizontally or vertically by changing the direction in "Flip" block.
- Connect the input source (e.g. Image File block) to the Rotate augmentation block
- Click the show more button to expand the block
- Select the flipping direction from the Direction dropdown box
- Connect the augmentation block to a targeted block for further processing
